Client Details and Integrations
The client Details page contains settings beyond basic profile information, including Jira integration, severity SLA mapping, and email configuration.
Accessing Client Details
Open a client and click Details in the section navigation.
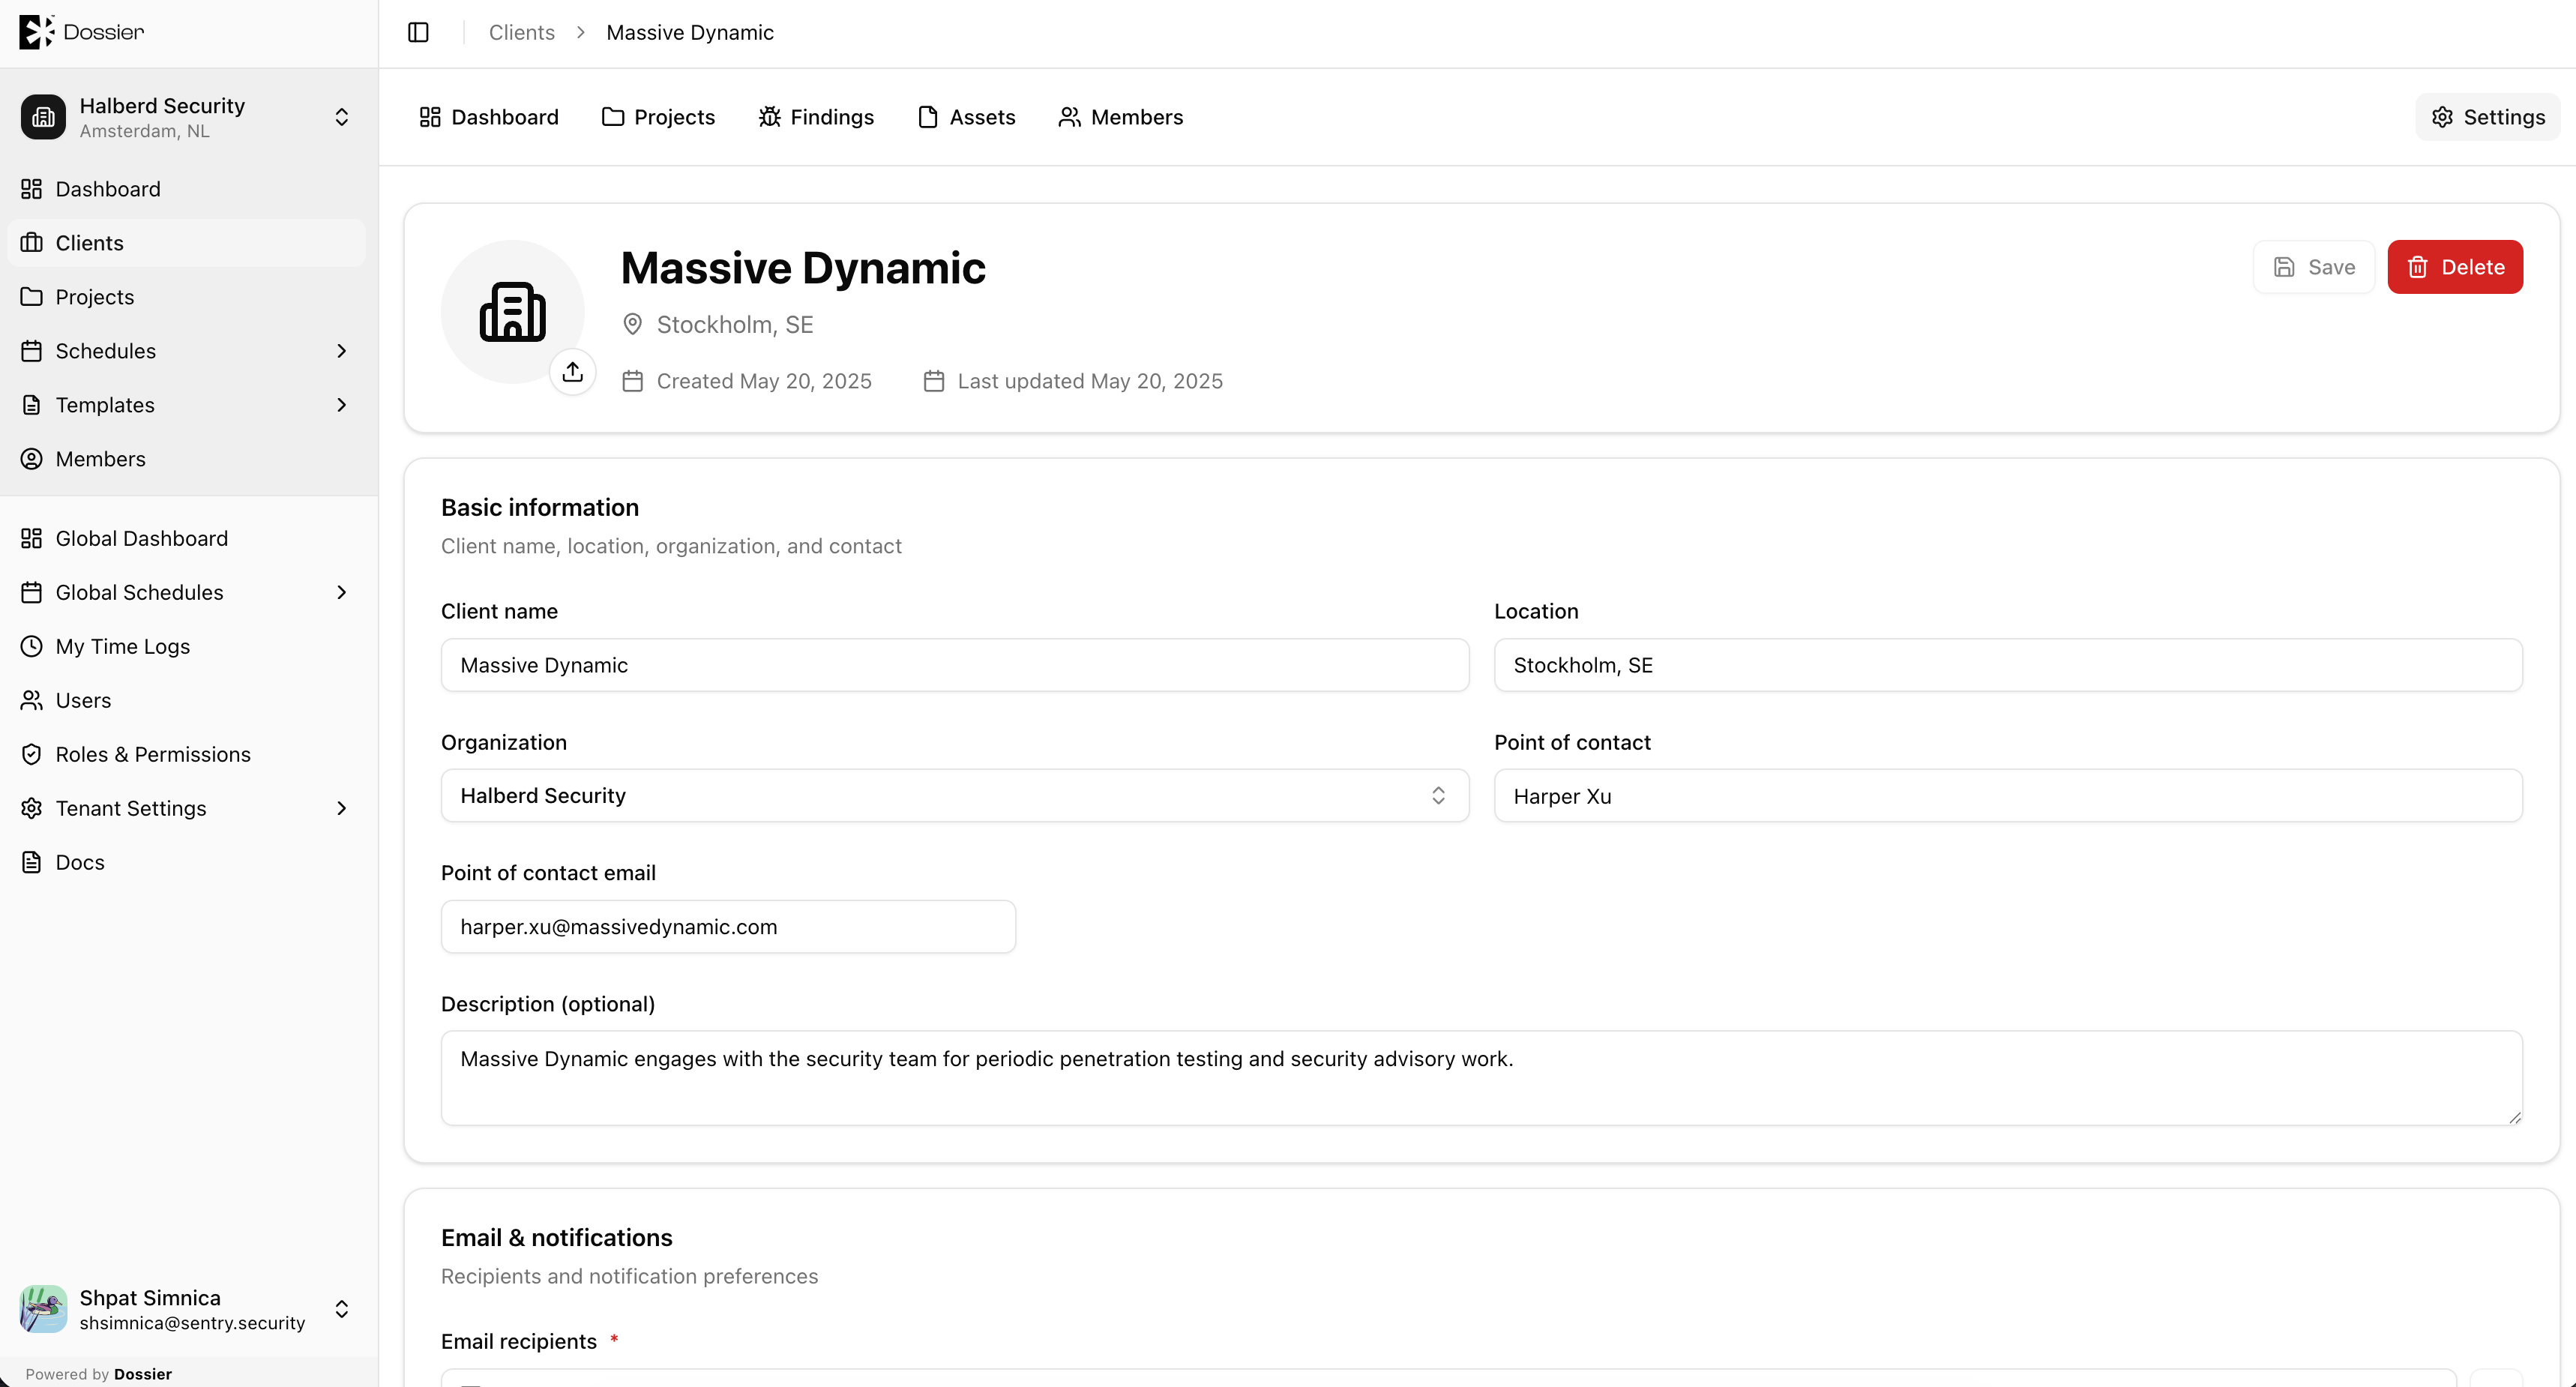
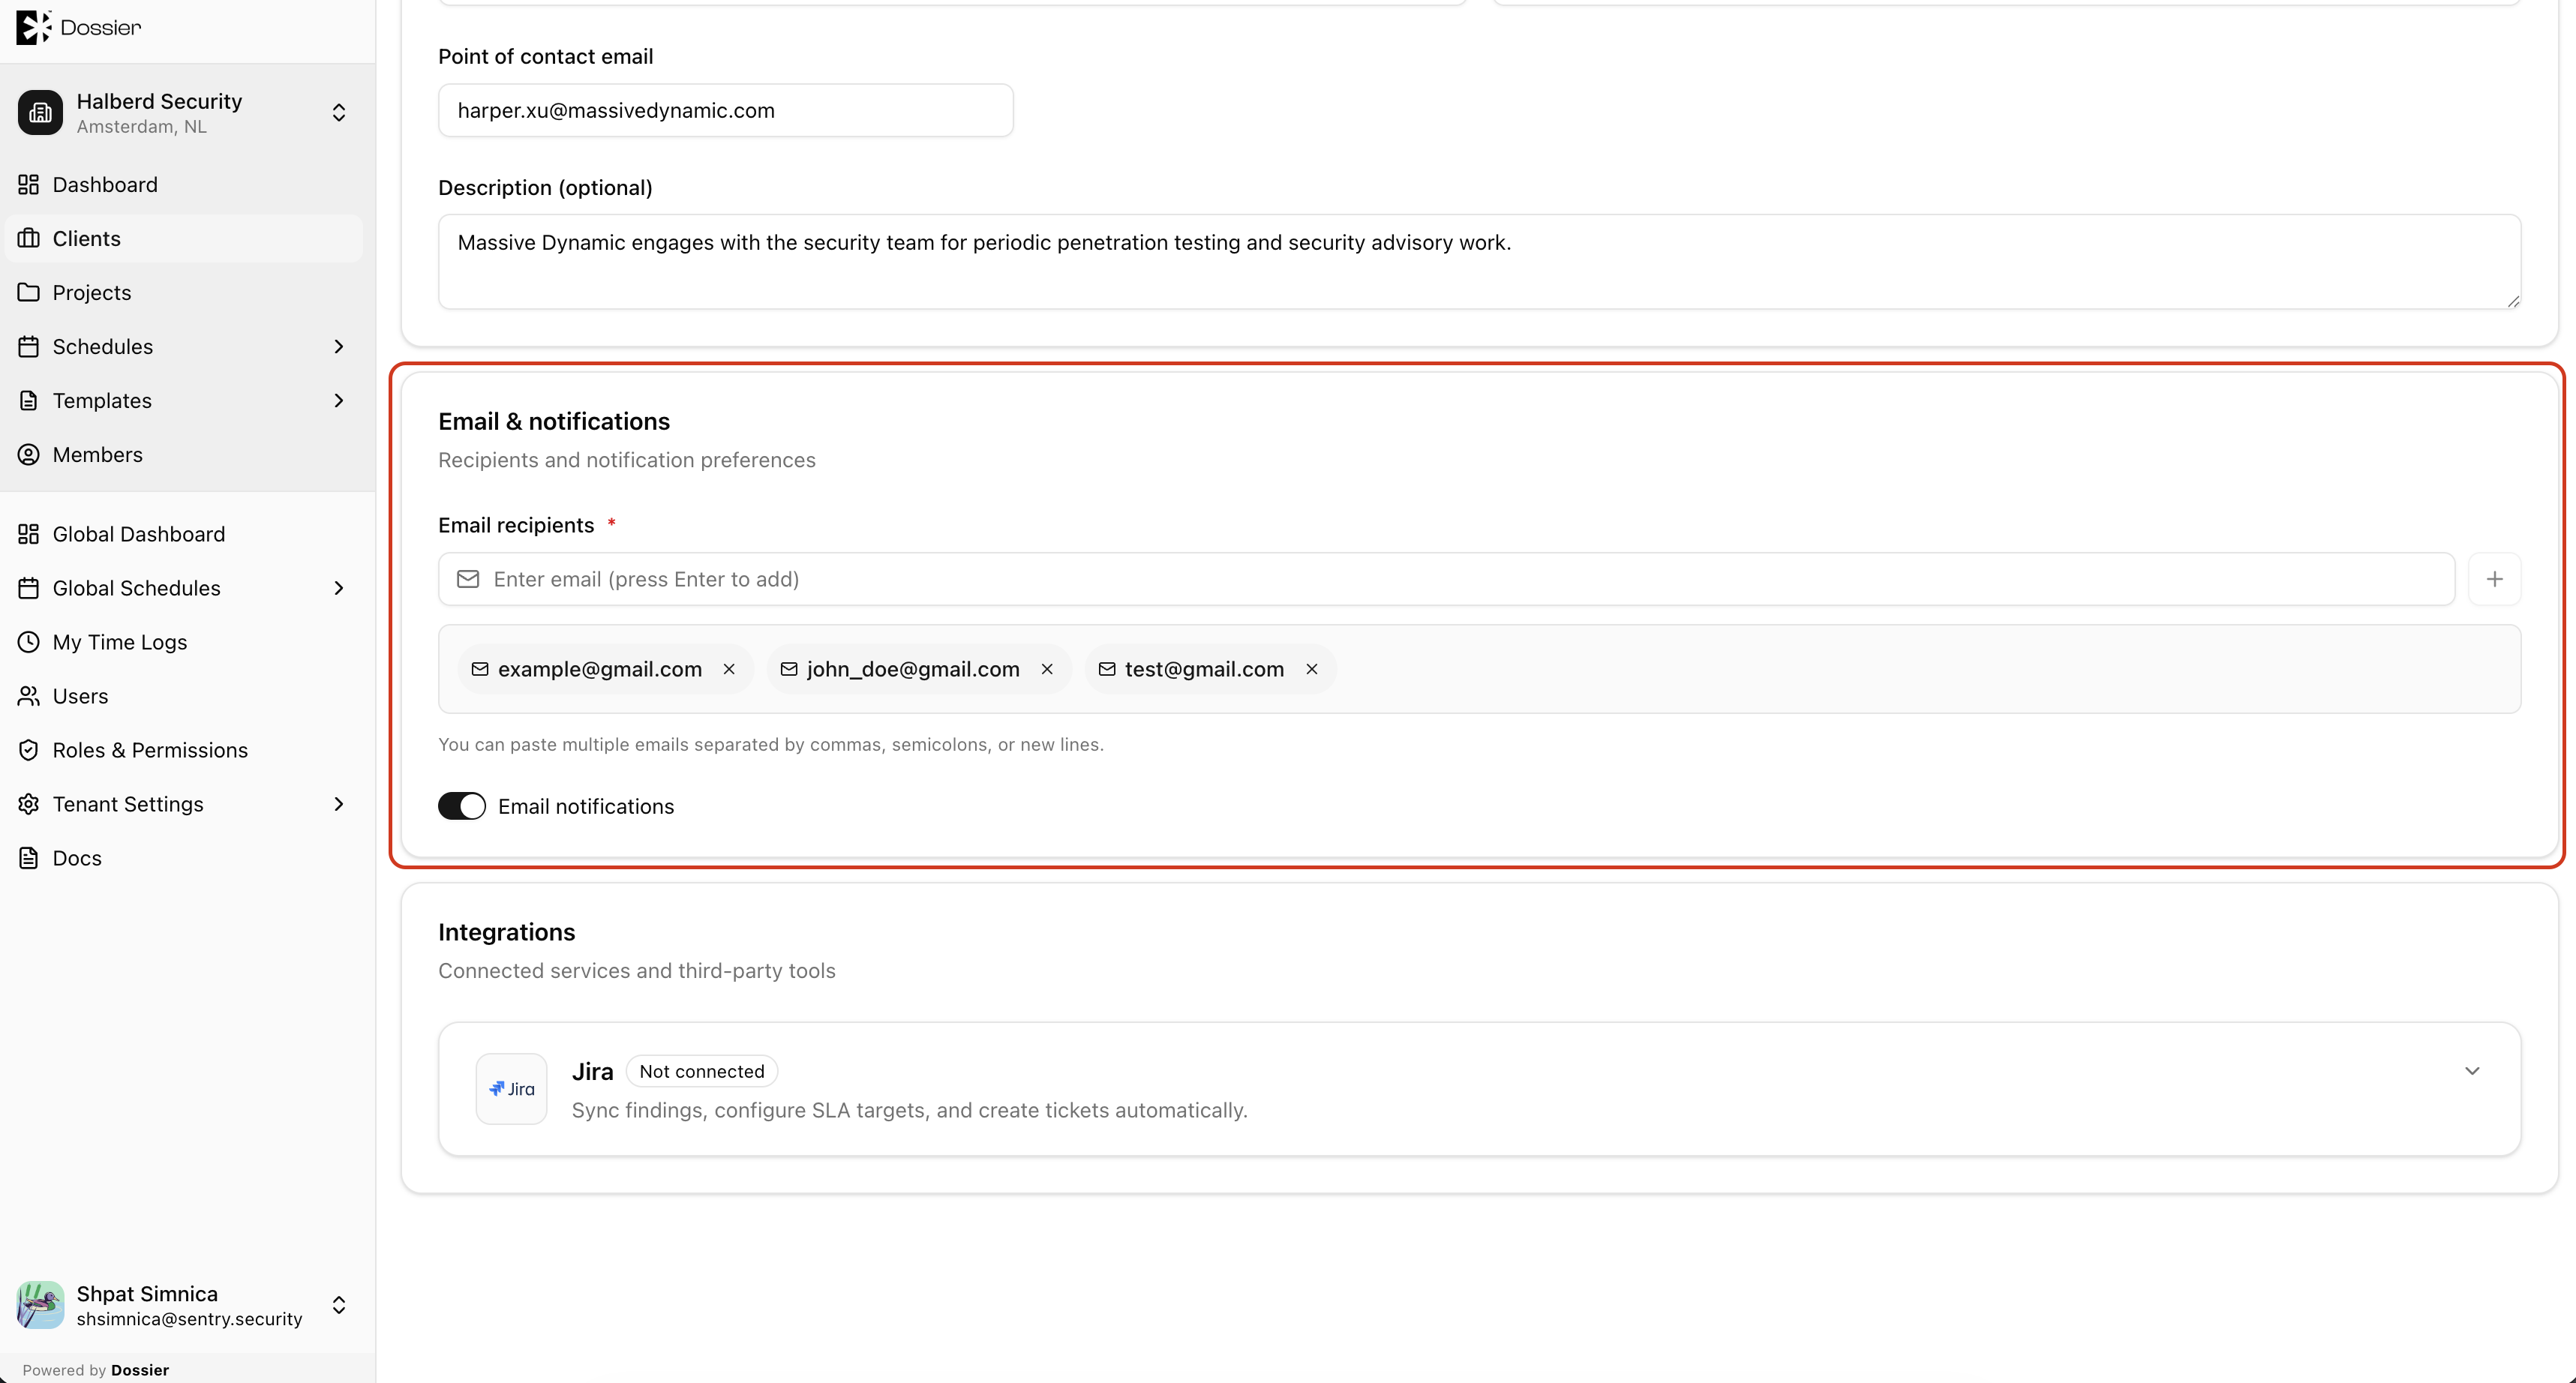
Email Recipients
When Receive Emails is enabled for a client, the email recipients list determines who receives automated notifications for:
- Project status changes (planned, active, paused, completed, canceled)
- Finding status changes
- Form submissions
- Finding comments
Add or remove email addresses from the recipients list on the Details page.
Jira Integration
Dossier supports per-client Jira integration for creating issues from findings.
Connecting Jira
Step 1: Open the Jira section on client Details
Scroll to the Integrations section on the client Details page.
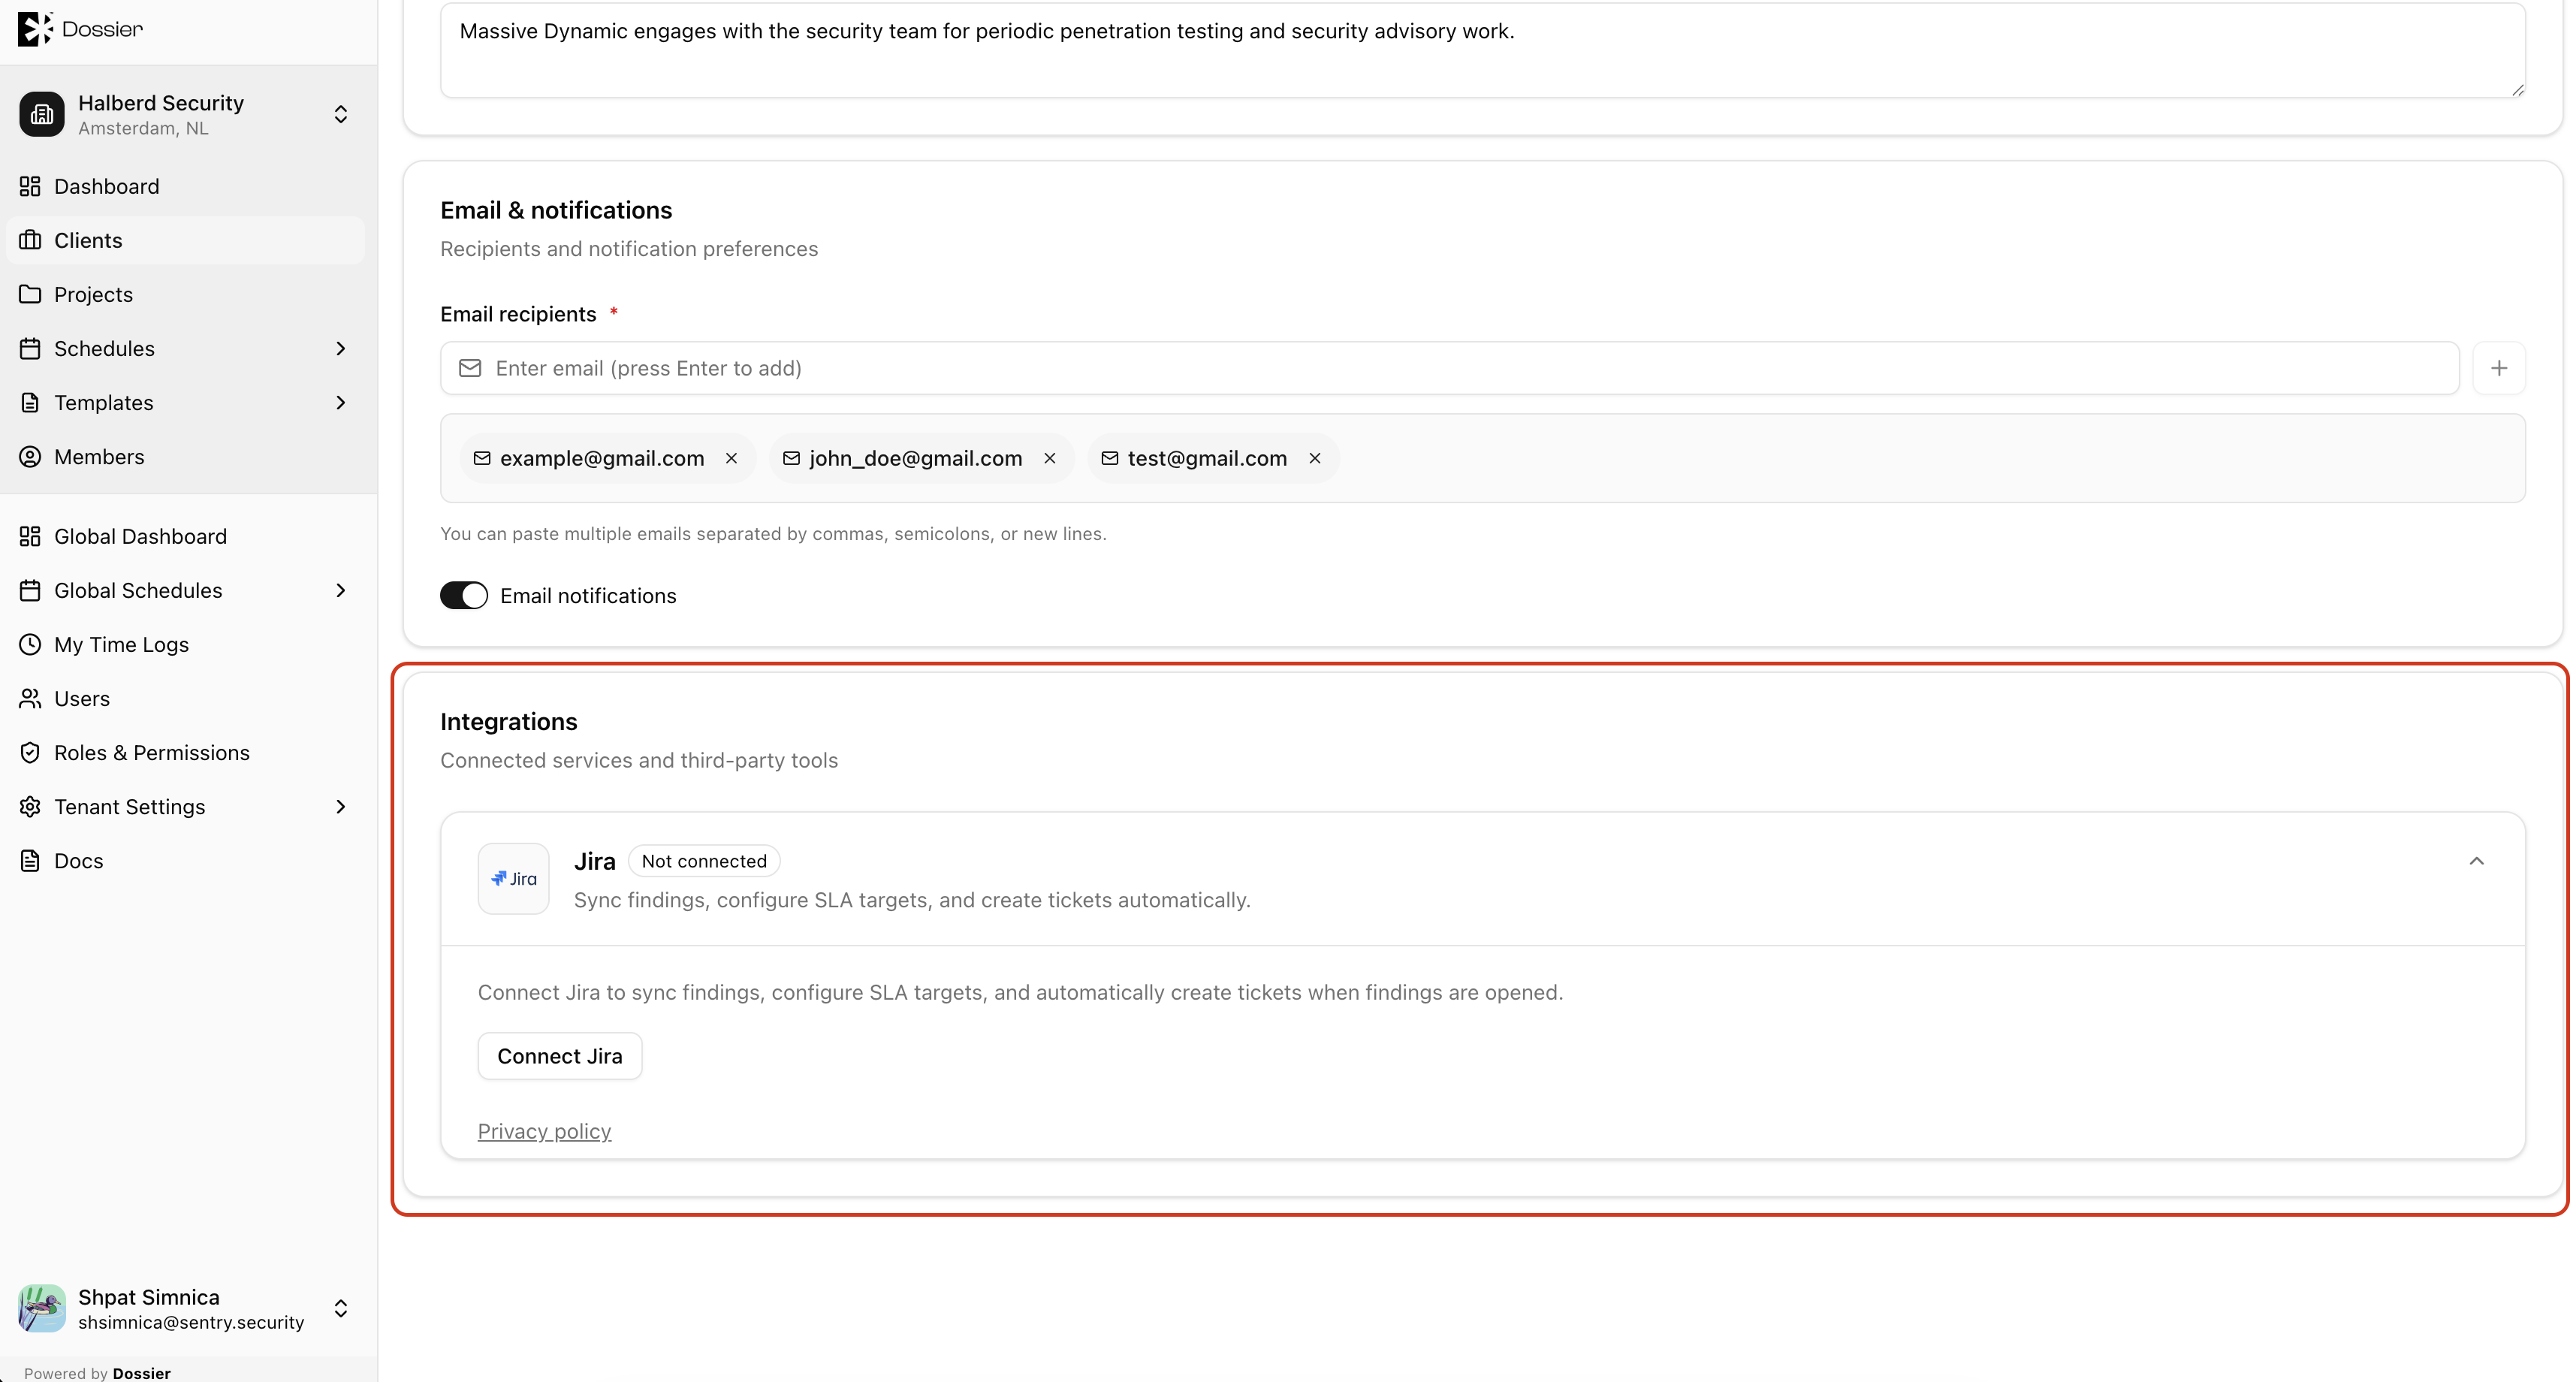
Step 2: Click Connect to Jira
You are redirected to Atlassian to authorize the connection. After authorization, you are returned to Dossier.
Step 3: Configure project mappings
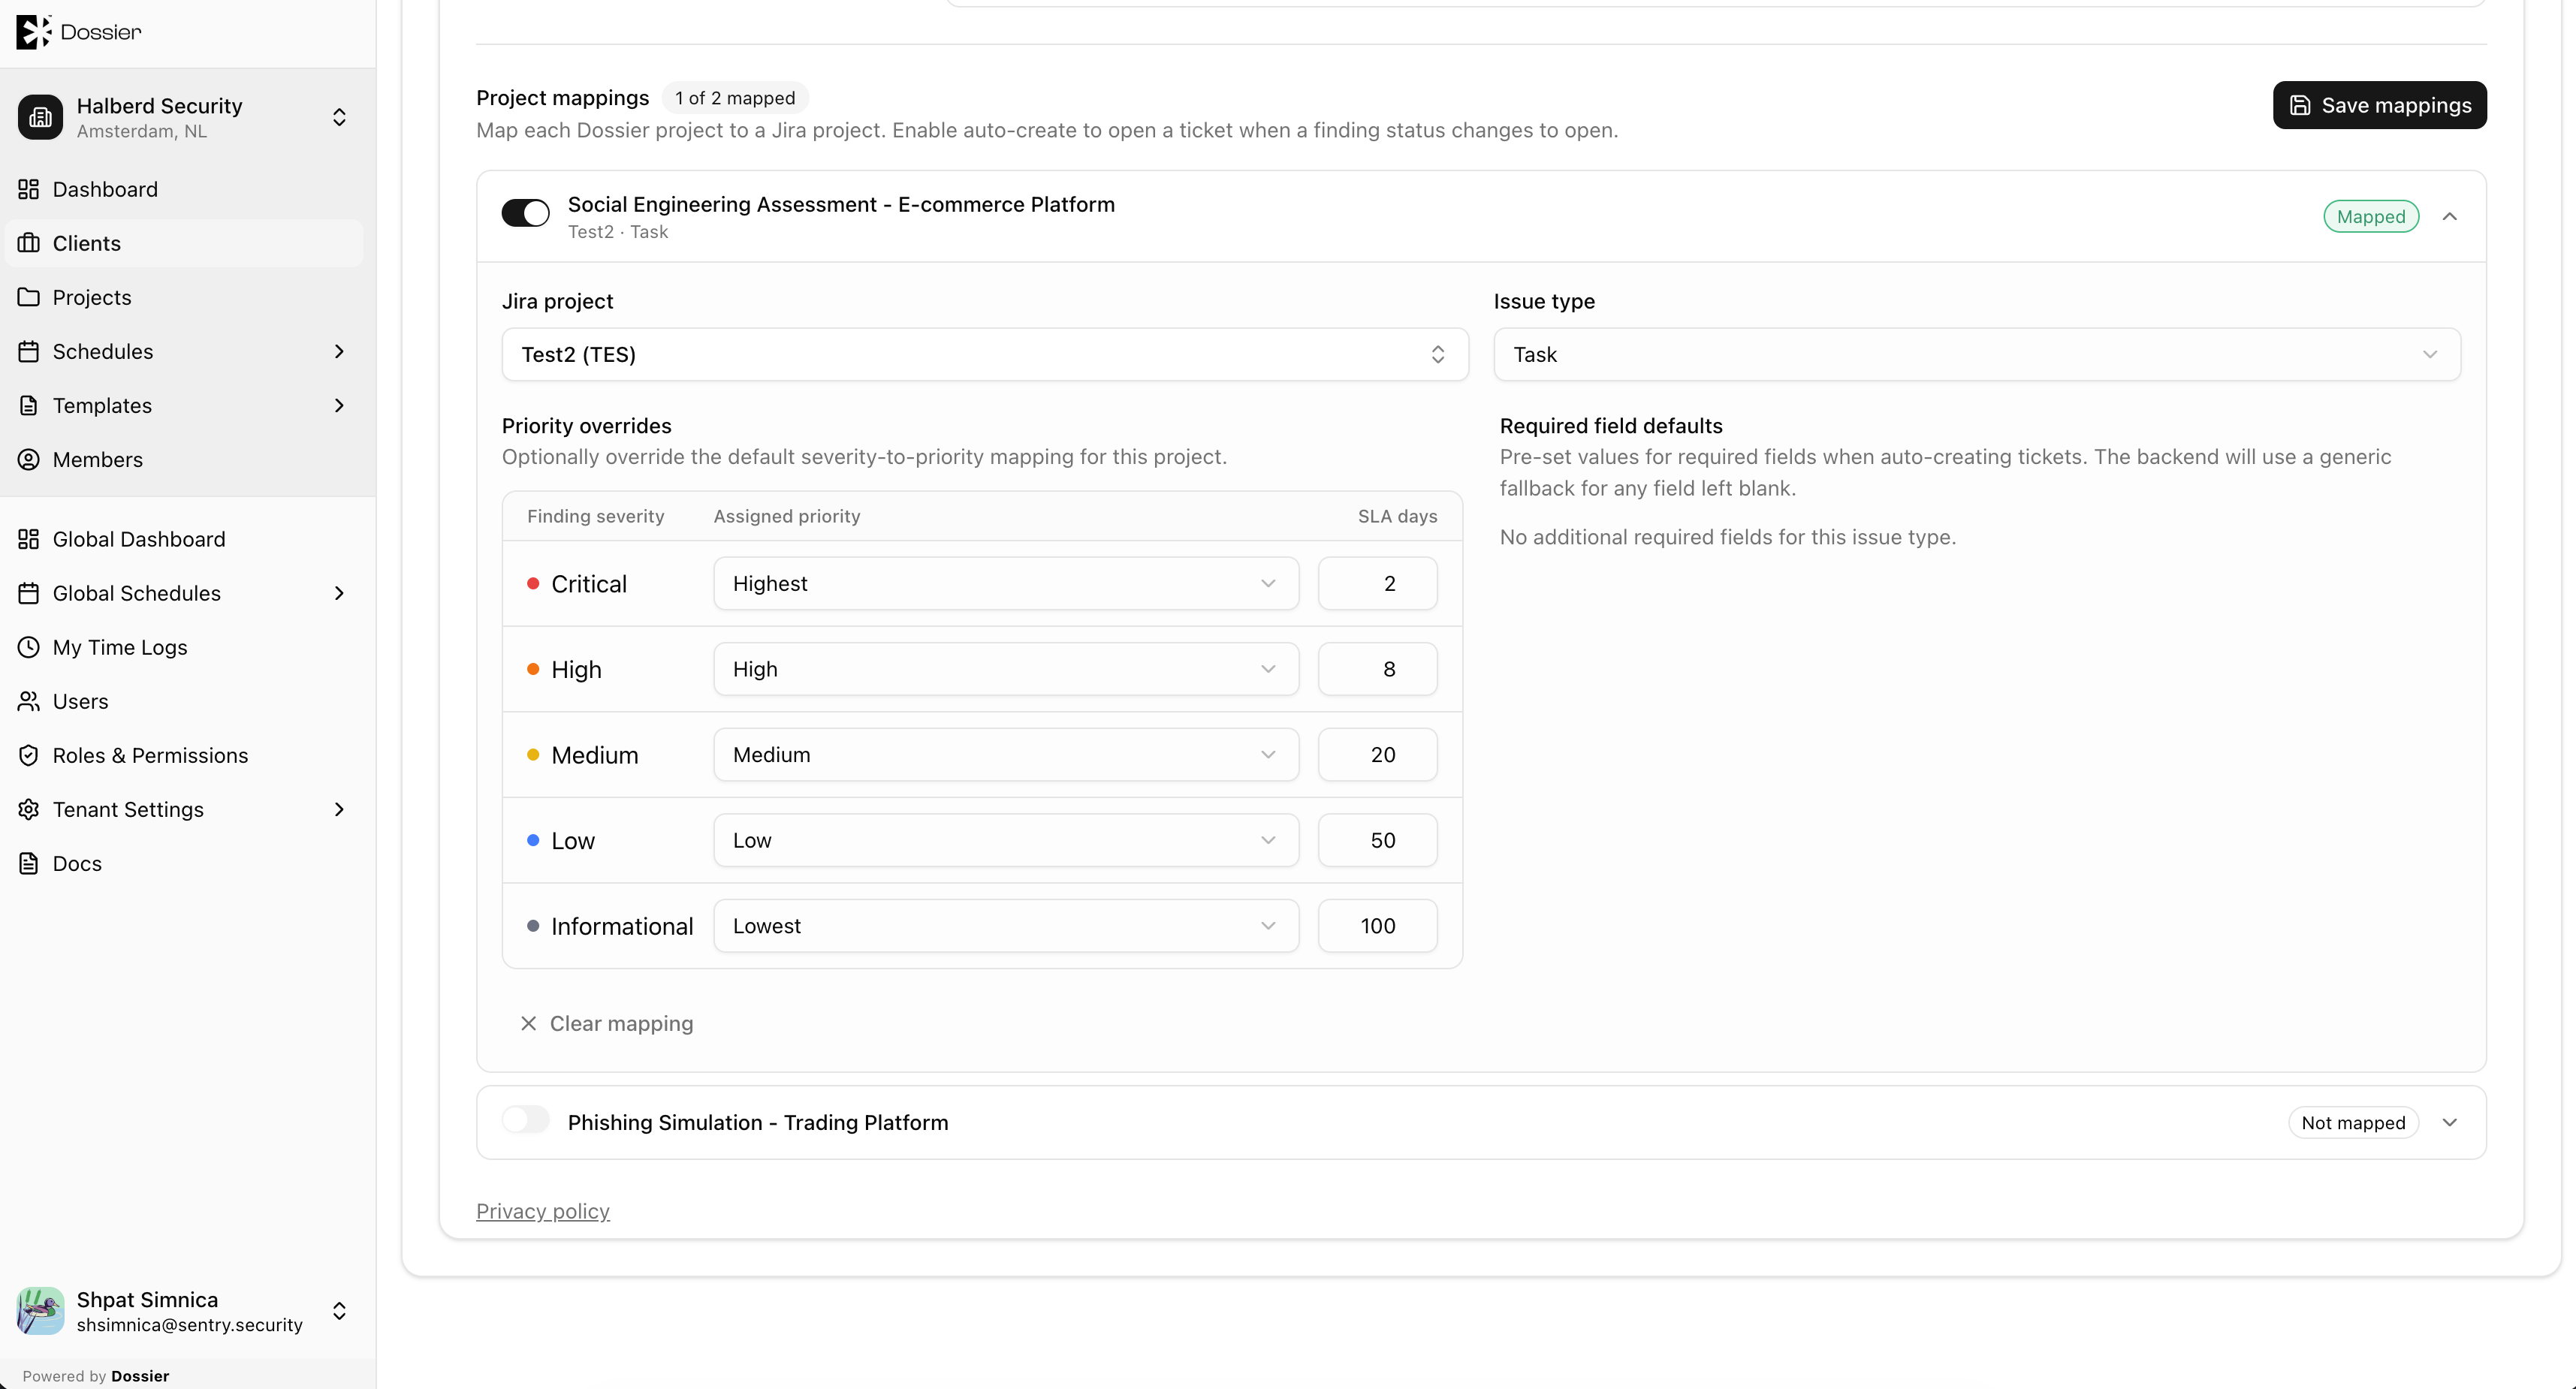
Map Dossier projects to Jira projects so issues can be created in the correct Jira project.
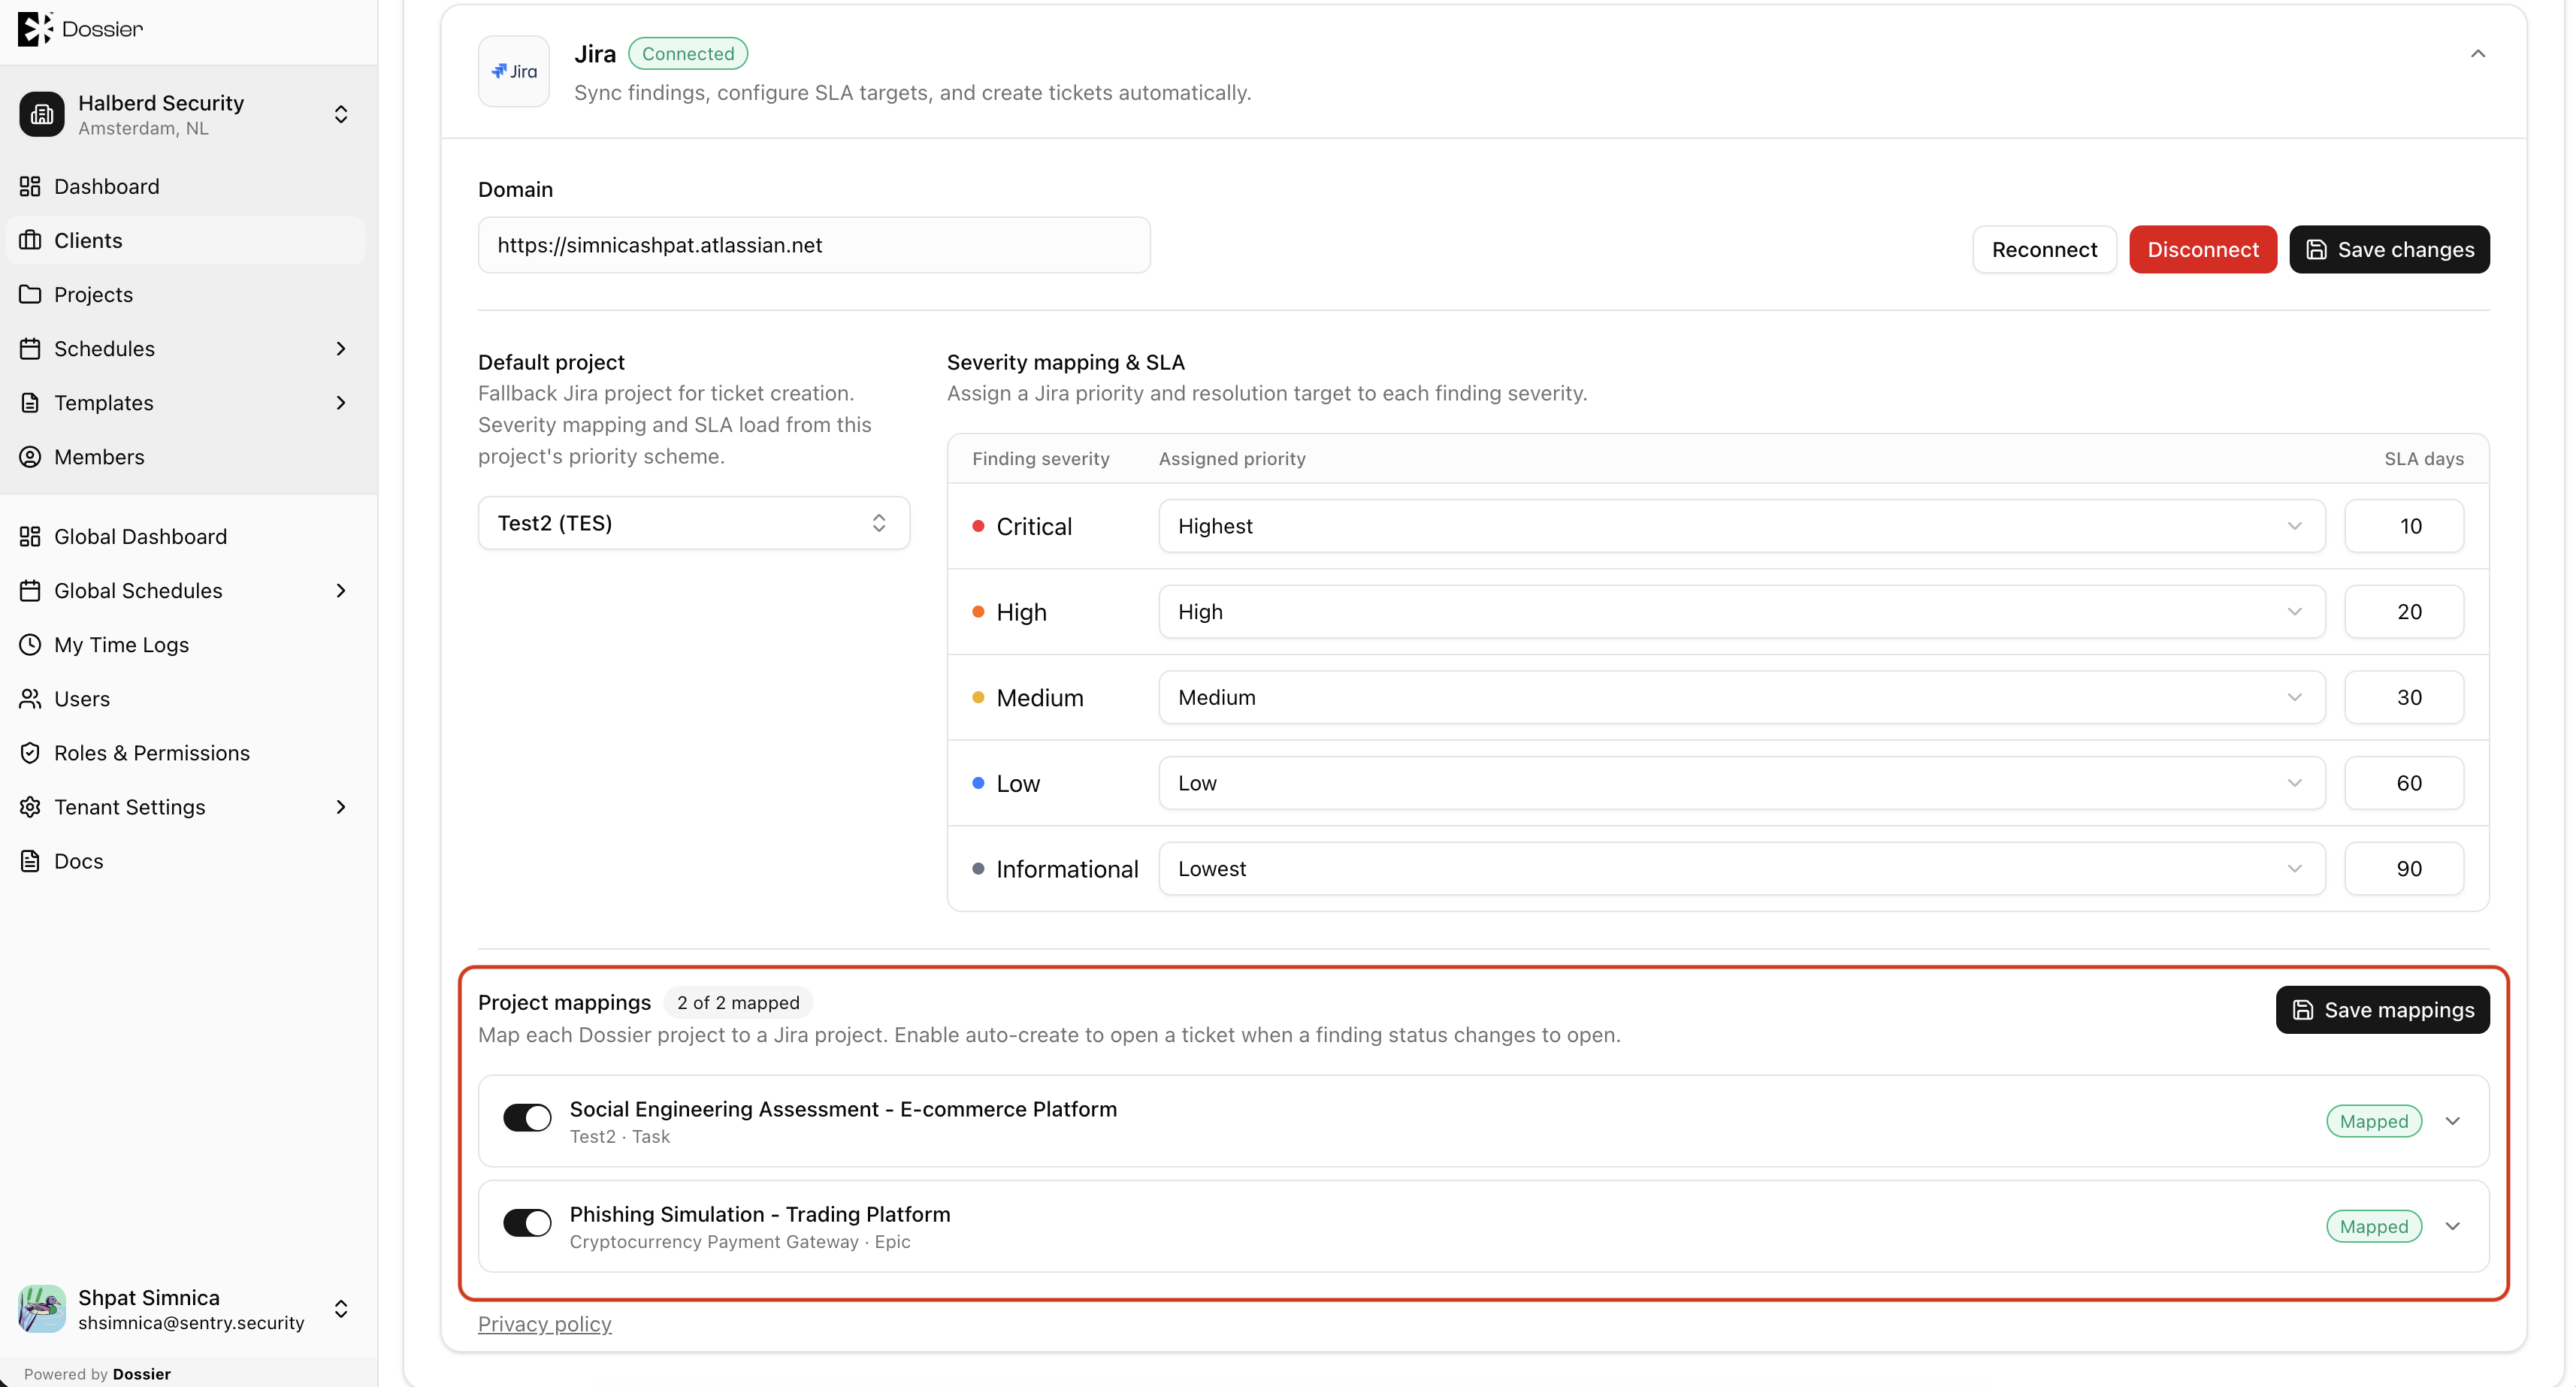
Step 4: Configure severity SLA mapping
Define how Dossier finding severities map to Jira priority levels. This table controls the priority assigned when a Jira issue is auto-created from a finding.
Creating Jira Issues from Findings
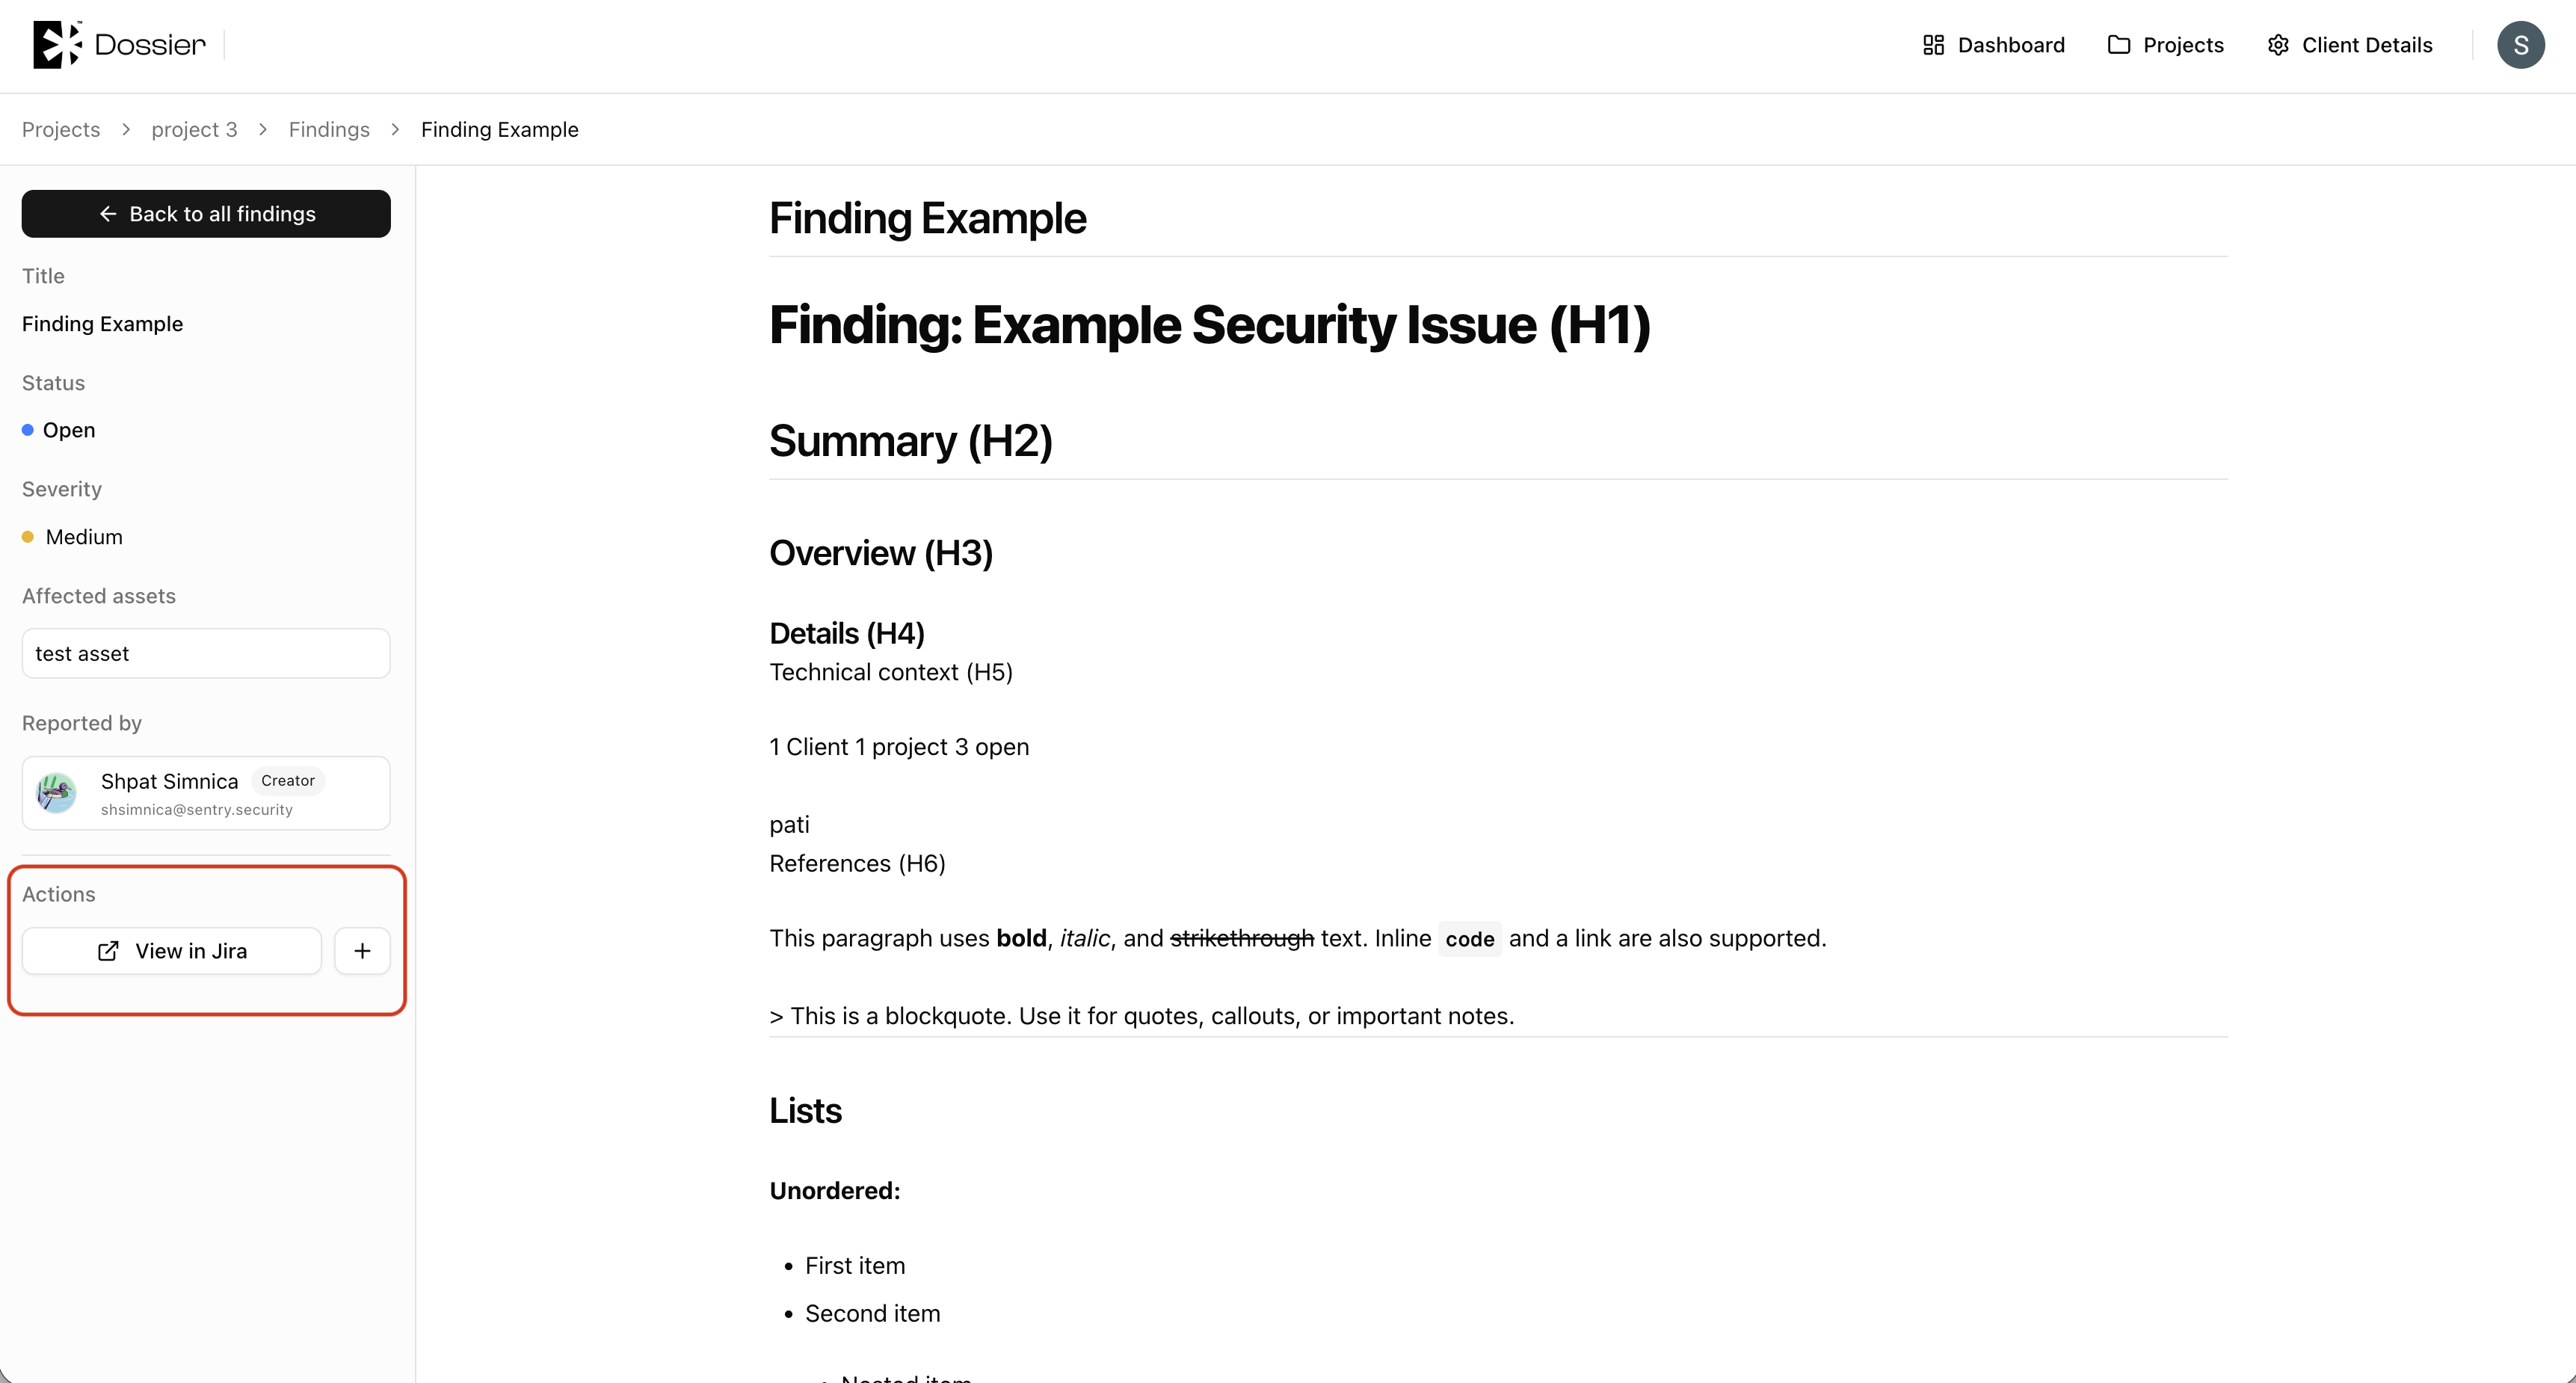
Once connected, you can manually create a Jira issue from any finding's detail page using the Create Jira Ticket button. When a finding's status changes to Open and no Jira link exists, Dossier can automatically queue issue creation if the integration is active.
Disconnecting Jira
From the client Details page, click Disconnect in the Jira section to remove the integration.
Disconnecting Jira does not delete existing Jira issues. Finding links to Jira will stop working until you reconnect.
Severity SLA
The severity SLA table on client Details defines the expected remediation timeline for each finding severity level. This is used for reporting and can influence Jira priority mapping.