Manage projects
1. Creating a client project
Steps to Create a Client Project
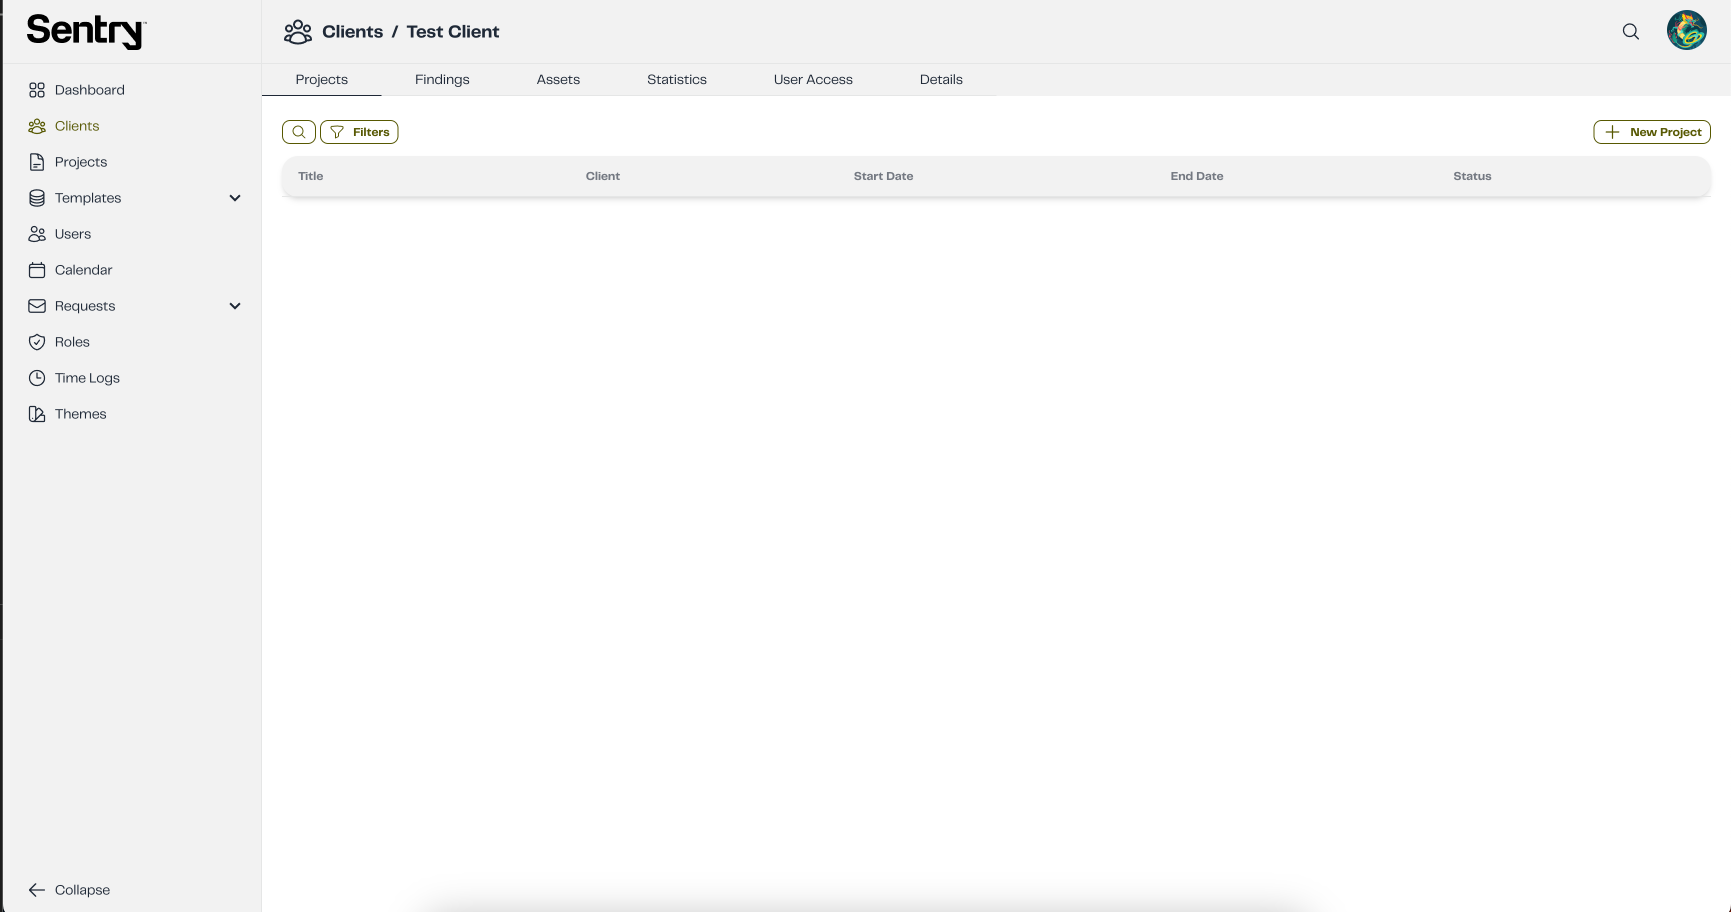
Step 1: Navigate to the Projects Section within the desired client and click the New Project button.
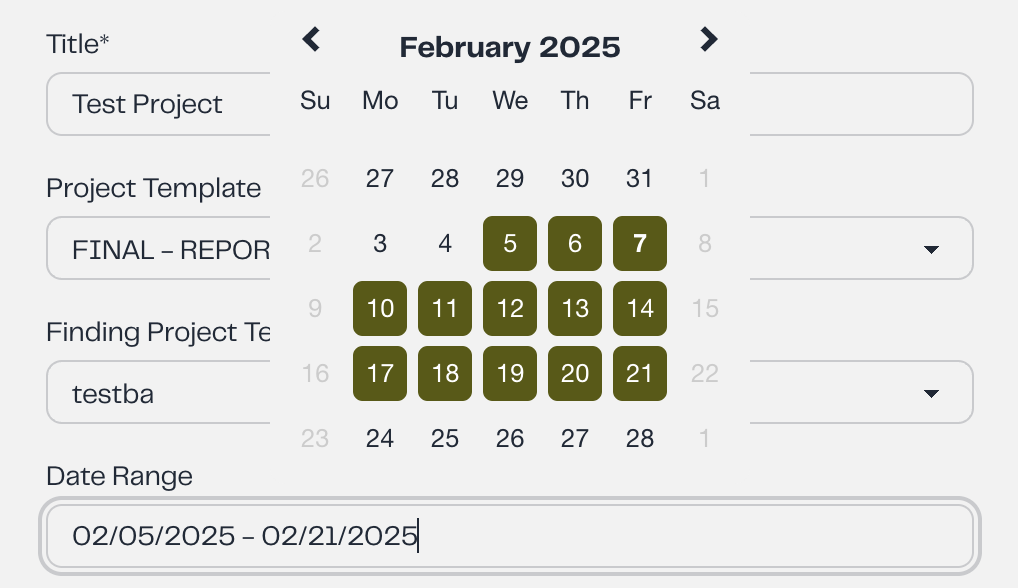
Step 2: Enter Project Details
Fill in the required fields, including:
-Title
-Project Template and Finding Project Template (⚠️ If not set correctly, exporting reports to PDF and DOCX will not work).
-Project Duration – Select a date range by clicking the starting date, then dragging the mouse and clicking the ending date.
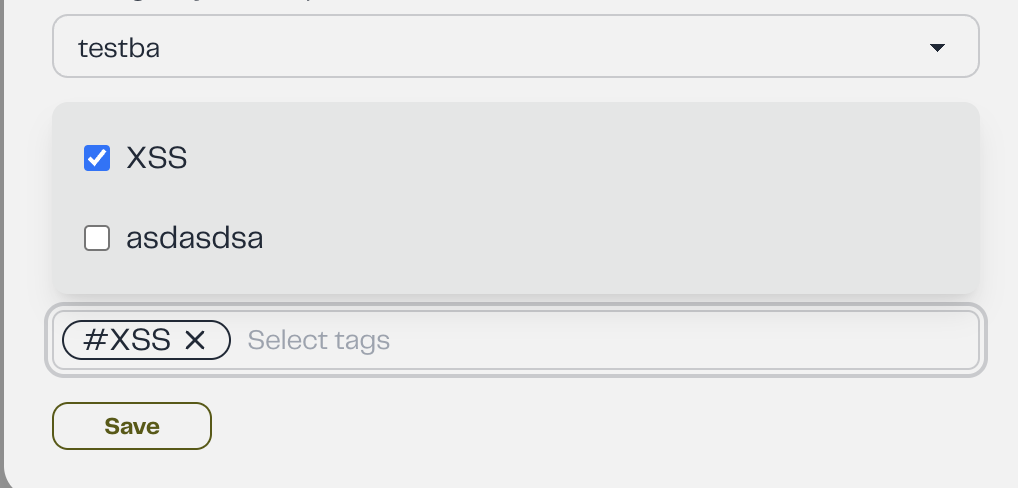
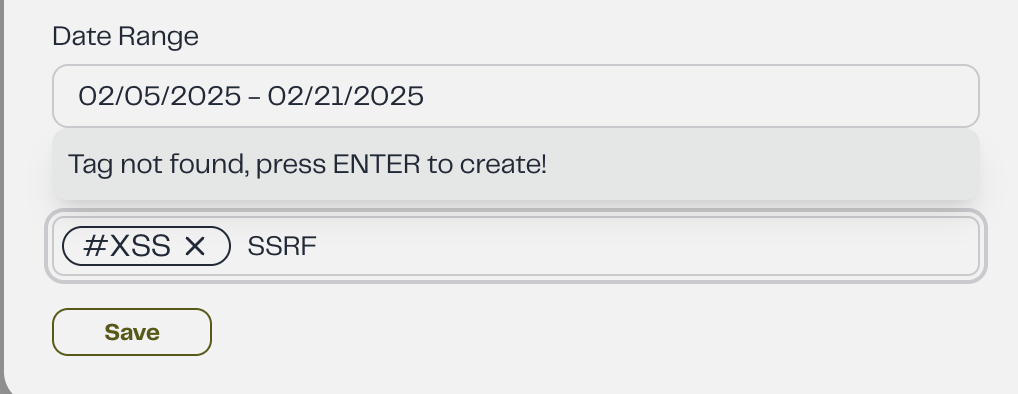
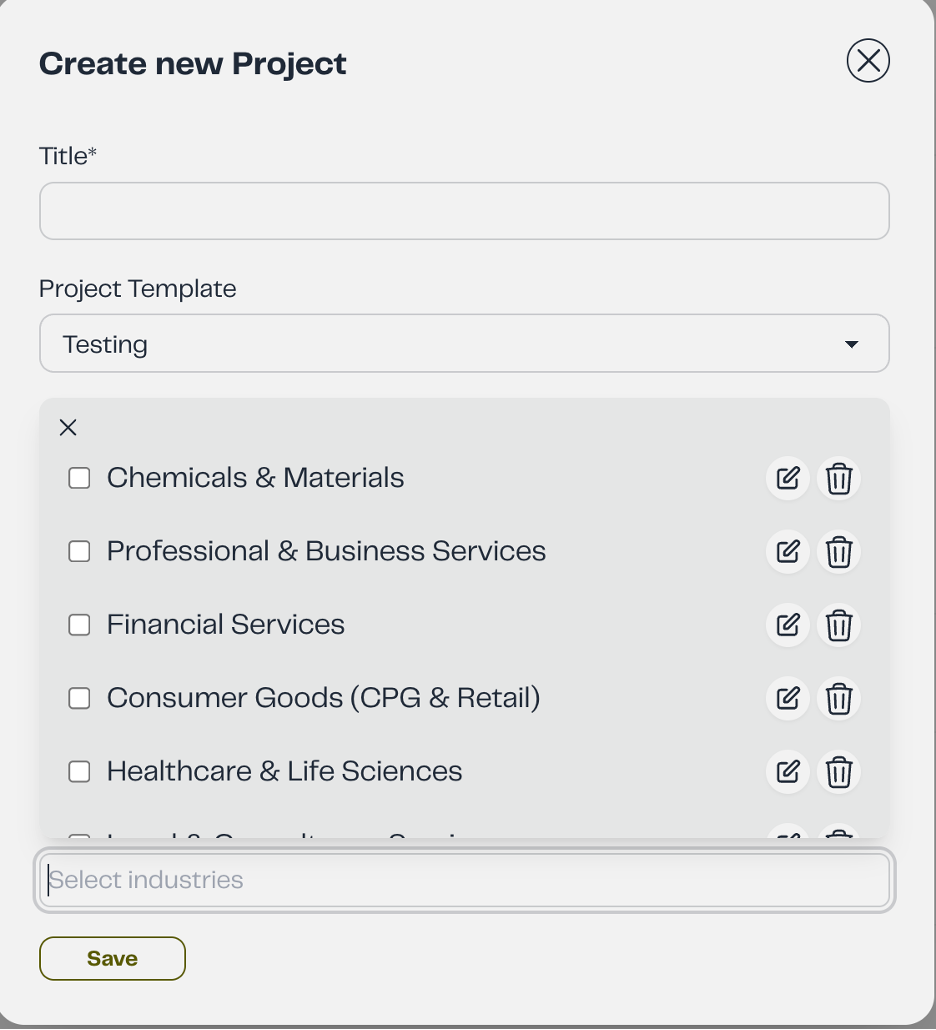
-Select Tags:Choose the relevant tags for the project. If a tag is not found, you can create a new one by pressing ENTER.
 |  |
|---|
-Select industry by the dropdown menu. -Once you select the industry, a subindustry field will show up where you can select a more specific industry.
 | 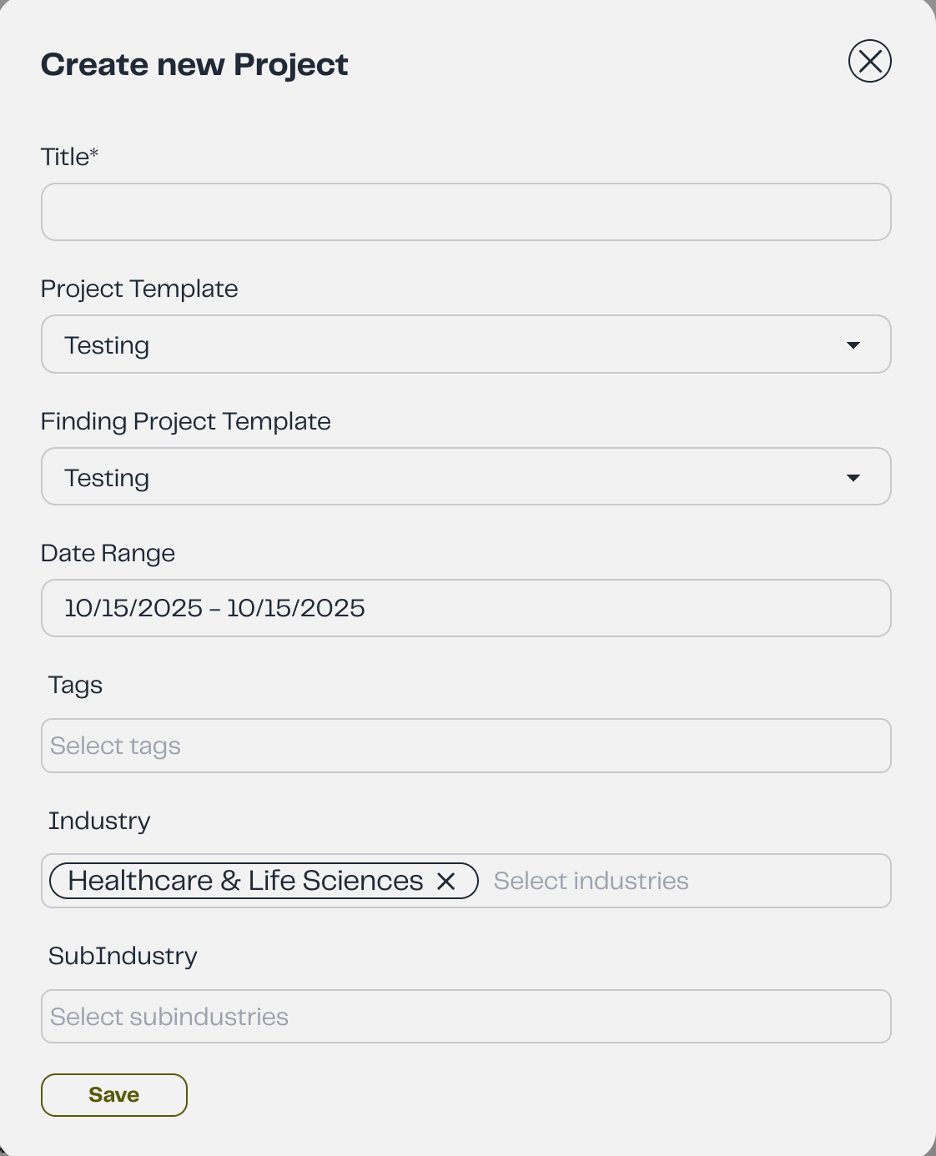 |
|---|
Step 3: Click the Save button to create the client project.

2. Updating a project
Step 1: Go to the Project Section and find the desired project.
Step 2: Click on the project's row in the table,and navigate to the Details tab
Step 3: Update the necessary fields, click Save to store the changes.
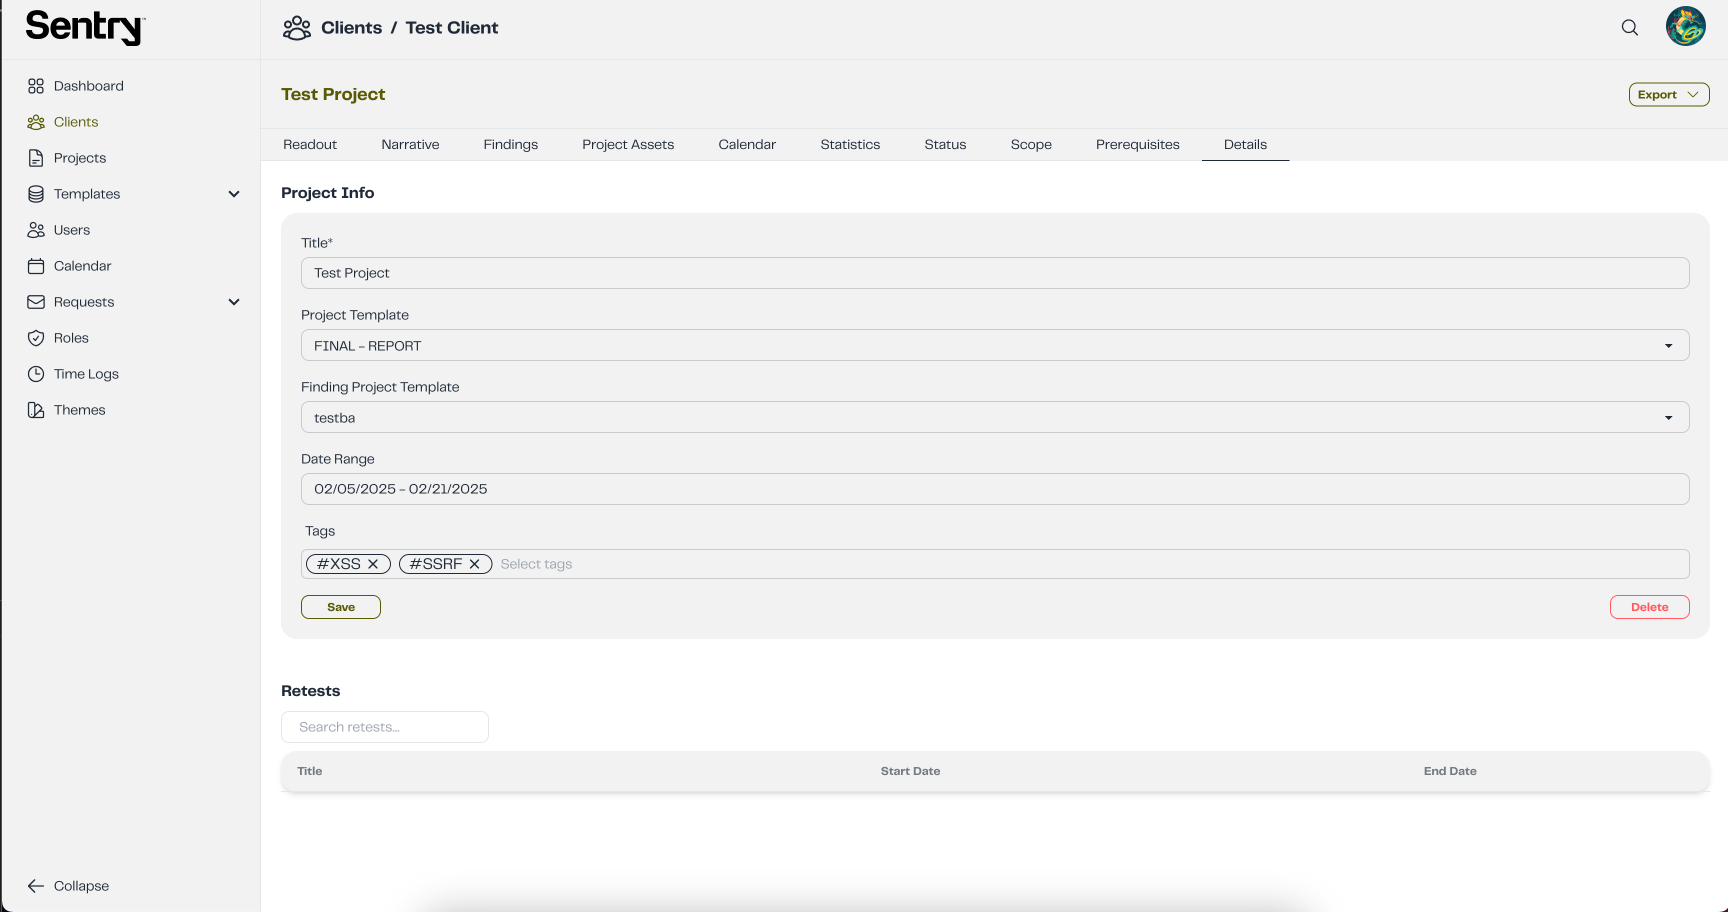
2. Deleting a project
Step 1: In the Details tab, click the Delete button.
Step 2: A confirmation popup will appear, as shown in the image below:
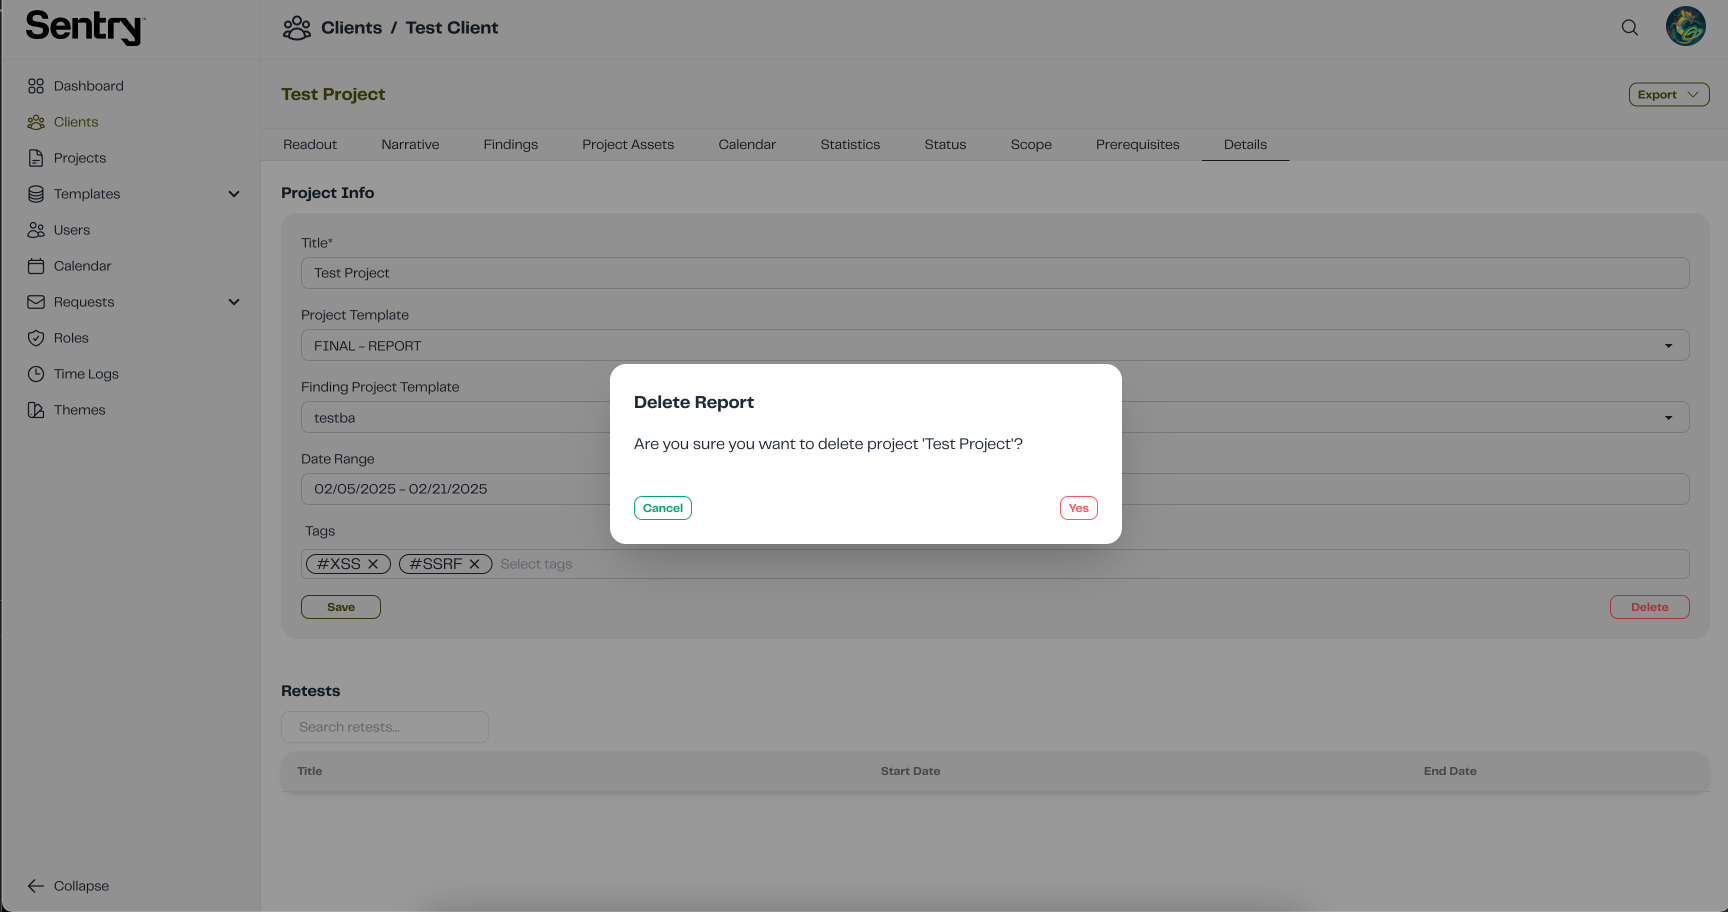
Step 3: Click Yes to confirm the deletion or Cancel to abort the action.